


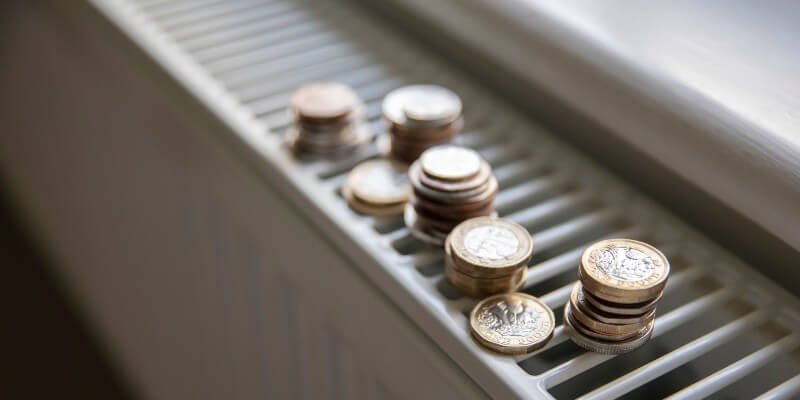
Unfortunately, over time, central heating systems, particularly radiators, are vulnerable to a build-up of hardened, thick sludge, impacting their performance. If left untreated, you could find that your boiler is being forced to work harder to heat your property, causing a significant rise in your energy bills.
There are two main ways of treating sludge in your central heating system. Professional plumbers typically use a power flushing machine or a large vacuum cleaner for your central heating pipework. However, removing radiator sludge through DIY methods is possible, helping you familiarise yourself with your system and ultimately save money.
Having spent many years working on hundreds of client’s homes, we regularly share tips with clients on the various repairs they can complete themselves. So, we have put together a full guide on how to remove sludge in radiators!
Don’t Forget To Subscribe To Our Newsletter
You’ll receive professional tips and advice!
Remove Sludge In Radiators With Bishop Plumbing & Heating
A build-up of sludge is typically only an issue in older radiators as it is made from dirt and rust. Over time, this accumulates at the bottom of your radiator, which in return, prevents hot water from being able to flow effortlessly through the system. This creates cold patches on your radiator, often leaving homeowners to turn their central heating up a few more degrees to accommodate the lost heat.
Throughout our many years of providing boiler repair in Milton Keynes and the surrounding areas, we have seen numerous boilers with problems down to untreated radiator sludge. Why? Because the added pressure that you are putting on your system can damage the heat pump, valves and boiler itself. Sludge also prohibits your heating from working properly, which is an important step to take during the upcoming months when energy bills are rising. For this reason, it is vital to familiarise yourself with how to spot and rectify this issue. To help, our guide will run through the following:
- What Causes Sludge In Radiators?
- Signs Of Sludge Build Up In Radiators
- How To Remove Sludge From A Radiator
- How To Flush A Central Heating System
- How To Prevent Radiator Sludge
What Causes Sludge In Radiators?
The technical name for sludge is magnetite and, as mentioned above, typically occurs on older radiators. Why? Because with time, the radiator, along with its pipework and soldered joints, will begin to rust. This rust then breaks off into the system and combines with built-up dirt to create a thick, gooey liquid – a liquid we know as sludge.
As sludge is far heavier than water, it is more likely to settle at the bottom of your central heating system, such as in radiators and pipework on the ground floor of your home. As a result, your system will become blocked, either making the heat on radiators patchy or, in the worst-case scenario, stopping them from warming up altogether.
Signs Of Sludge Build Up In Radiators
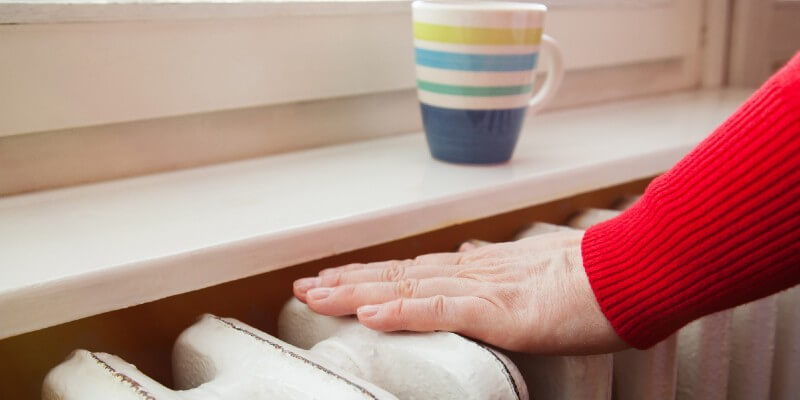
There are many different ways to tell if you have sludge in the radiator, and you will not need the assistance of a professional plumber. The easiest method is to turn your central heating on to full power and open up any TRVs you have on your radiators. The TRVs are the small valves on each end of the radiator with numbers imprinted onto them. Allow the radiators to heat up, and being very careful not to burn yourself, gently feel the bottom of the radiator. If any bottom areas of the radiator remain cold ten minutes after turning the heating system on, then the chances of sludge are high. However, if you notice that the bottom of the radiator is ok, but the top is staying cold, you might have air in the system. You’ll need to use a bleed key to release the unwanted pressure. Just remember to check the system’s pressure after bleeding and top it up where required.
If you bleed your radiator and notice a brown liquid that seeps out, then this is an indication that you were correct; there is sludge, but it just wasn’t enough to cause noticeable cold patches. In this instance, you would benefit from removing the sludge to prevent future issues. On the other hand, if you bleed your radiator, but it does not make a difference, again, you would benefit from flushing the system using the instructions below. Other signs that you need to flush sludge from your radiator include the boiler making loud noises and the heat pump being broken or leaking.
How To Remove Sludge From A Radiator
The steps on how to flush a radiator are relatively straightforward; however, they take care and patience to ensure that you do not damage your surroundings or the radiator itself. Follow our instructions below, and you will be able to remove radiator sludge successfully.
You will need:
- Old towels or sheets
- Spanner/wrenches
- Large bucket
- Radiator bleed key
- Hosepipe
- Rubber hammer
1. Turn Off Your Central Heating
When working on your radiator, you must ensure that you switch off your central heating and allow the radiators to cool down fully. This typically takes around half an hour but can be longer if you feel it is still slightly warm. When loosening the valves or removing the radiator from the wall, it is more than likely that you will come into contact with the water inside, so you do not want to run the risk of scolding your skin.
2. Prepare Your Surroundings
Sludge inside your radiator isn’t pleasant, which means that you most definitely want to ensure that your surroundings are prepared before attempting this task. To protect your flooring, spread towels or old sheets around the radiator, especially underneath the valves.
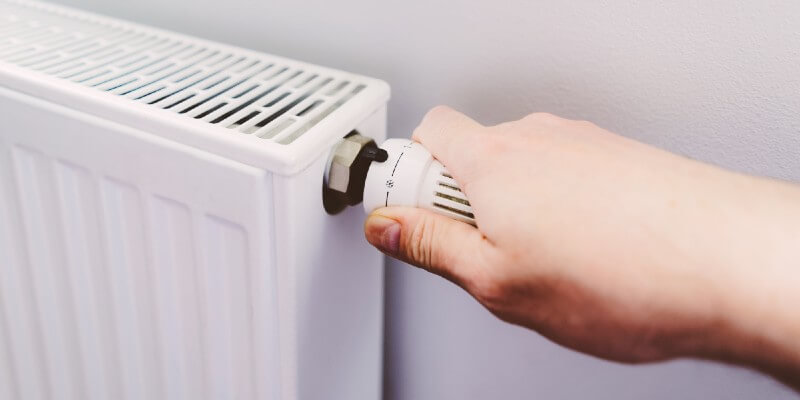
3. Turn Off The Valves
The next step will be disconnecting your radiator from the rest of your system. To do this, you will need to start by turning off the thermostatic radiator valve (TRV), which is done by twisting the head to either the ‘0’ or ‘off’ position – they both mean the same, but which one do you have differs on your radiator model.
You will find the lockshield valve on the other side of your radiator. In order to turn this off, you will need to remove the plastic cap and then use a wrench or spanner to turn it clockwise all the way. When doing this, a handy tip is to count how many turns it takes you to turn off the valve; note this down, as it will give you an indication of how to re-balance the radiators after flushing.
4. How To Drain A Radiator
Now you have reached one of the most complicated steps, how to drain a radiator. Before doing this, ensure that you have placed a bucket underneath the thermostatic radiator valve (TRV).
With a wrench or spanner in each hand, use one to grip the valve’s body and the other to loosen the nut between the radiator and the valve.
Next, using your bleed key, open the bleed valve to release any built-up air; at this point, you will begin to see water flow out and into your bucket. Using the same method above, loosen the lockshield and tilt the radiator to allow the remaining water to come out. Once emptied, use the key to close the bleed valve.
5. Flush The Radiator
Now that the water has been emptied, you can now move on to removing all of the sludge built up inside. Before doing this, you will need to completely disconnect the radiator from the wall and remove it from its brackets. As you would have already loosened the nuts on both valves, this should be relatively straightforward.
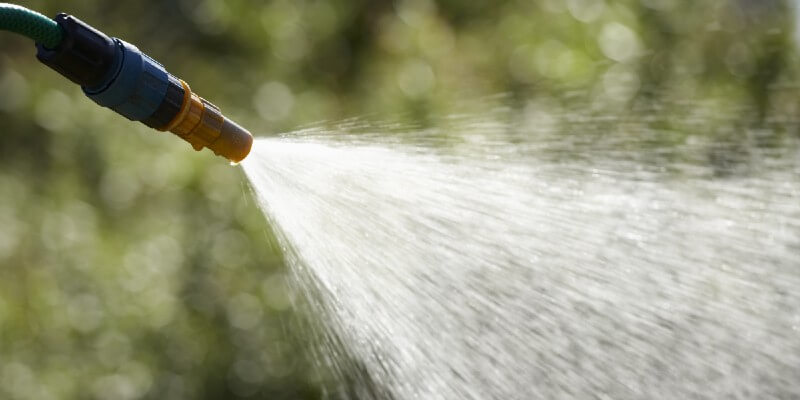
We would always recommend flushing the radiator outside but before doing this, do one last check to ensure that any excess dirty water is removed and into the bucket. The last thing you want is to carry the radiator through your home and leave a trail of mess along the way. You may even consider putting a plastic bag or towel around the inlets while carrying them to the garden.
Once in the garden, attach your hose pipe to the inlet of the radiator valve and switch the water on at full power, thoroughly flushing the inside. The pressure of the water should be enough to push out the sludge. If it is proving tricky to shift, then you can use a rubber hammer to try and dislodge any excess build-up. For those worried about damaging their garden with the sludge, we advise holding the radiator over a drain or placing a plastic sheet over the ground to collect the dirt.
Continue to flush out the radiator until the water from the inlet on the other side is completely clean.
6. Reconnect The Radiator
Once you have finished flushing the radiator and it is back inside, you can reconnect it using the above steps, but in reverse order. Be sure to re-tighten the nuts, open both valves and turn the lockshield valve the same number of times you noted down beforehand.
Finish by ensuring that you have opened the bleed valve to allow any air trapped inside to escape.
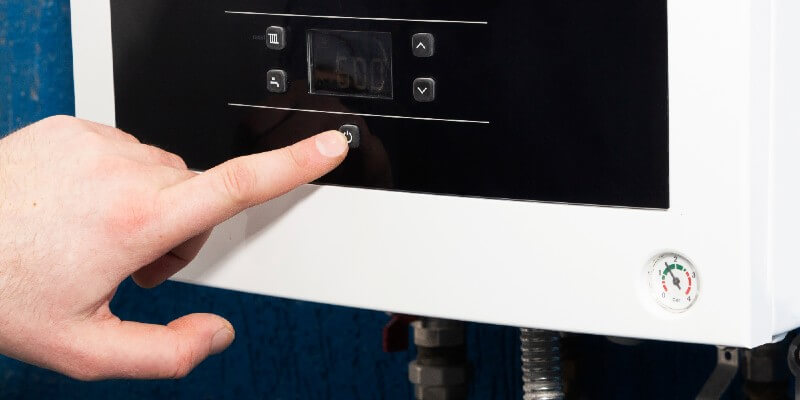
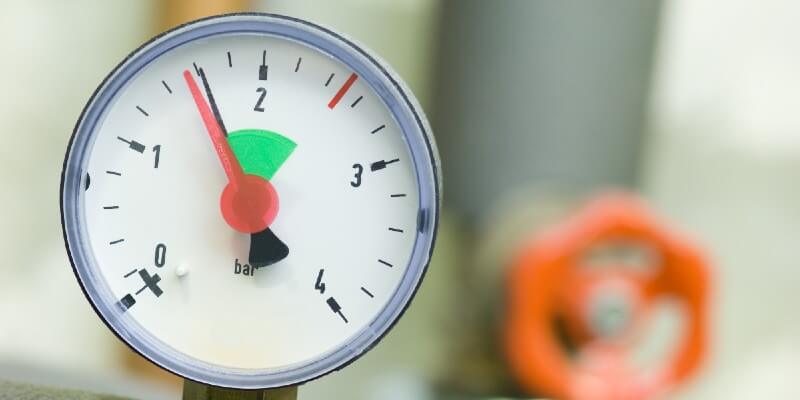
7. Check The Boiler Pressure
Now that you have flushed your radiator, there is one last task that we recommend, and that is to check the boiler pressure. By disconnecting your radiator, the boiler pressure may have dropped slightly, so you must ensure it is topped back up. At this stage, your central heating will still be turned off, so the pressure should be between 1 and 1.5.
How To Flush A Central Heating System
If you have flushed a radiator using the above steps but still find that your home is taking a while to heat up, familiarising yourself with how to flush a central heating system is recommended. The first method, and the most straightforward, is to remove the sludge from each of your radiators. Cleaning each radiator individually is likely to take time but is a sure way to determine whether you need to speak with a professional plumber.
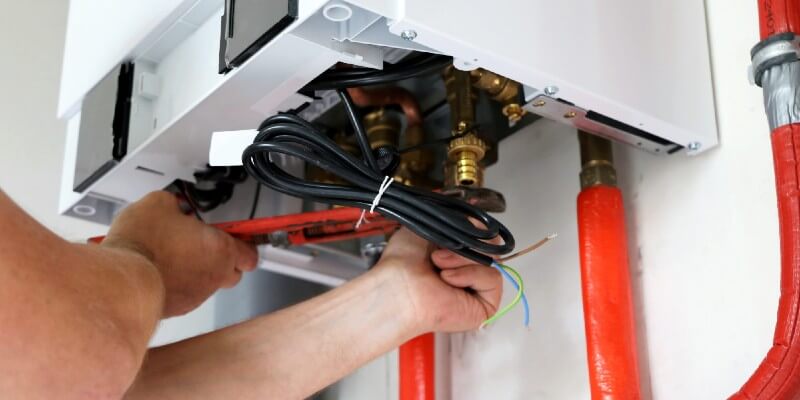
Having flushed each radiator, if you are still having problems with your central heating system, we recommend getting in touch with our plumbers in Milton Keynes and the surrounding areas. In this instance, you may need the system power flushing, and if this still doesn’t work, there is likely a problem with the boiler itself. Our team are highly experienced in boiler repairs, so we can diagnose the issue quickly, ensuring that disruption is minimised. If your boiler replacement has come unexpected, then we can offer installation on finance, allowing you to spread the cost with various interest-free options available.
Once your central heating system is back to full health, annual servicing will be essential to maintain its condition. We now offer a complete service plan, which ensures that your boiler is fully inspected and serviced, preventing the likelihood of future problems. This also provides you with priority access to our certified team, who are highly skilled in gas safety checks in Milton Keynes and much more.
How To Prevent Radiator Sludge
Although it is difficult to prevent radiator sludge altogether, you can take some preventative measures to reduce a build-up of rust and dirt from causing problems. The first may seem obvious, but if you notice your radiators are not working efficiently, check for sludge straight away before it has the chance to accumulate. You would also benefit from flushing out your radiator every 5 to 6 years, regardless of whether you notice a problem brewing or not.
Another helpful tip is to ensure that your annual boiler service always goes ahead as planned. During a service, our plumbers in Towcester and the surrounding areas will check the efficiency of your central heating system and will recommend whether you would benefit from a power flush. Feel free to contact us for more information on our boiler servicing.
Restore The Performance Of Your Radiator
Should you notice that your radiators are no longer performing as well as they typically would, carrying out the necessary steps to determine whether an issue will be essential. The earlier you can spot and rectify the problem, the less likely you will run into bigger, more expensive repairs in the future.
If you do have any radiator or central heating system-related issues and ensure whether they are serious, please do not hesitate to get in touch with our team. We are always more than happy to advise you on whether you can carry out DIY repairs or if you would benefit from a visit from one of our experienced plumbers.